The Mozilla build VM
A virtual build environment for Firefox
Note: This post might be outdated as it has been turned into an MDN page. Please refer to the MDN page for the latest information about the Firefox Developer VM. It will also tell you the correct checksum to compare to after downloading.
https://developer.mozilla.org/docs/Mozilla/Developer_guide/Using_the_VM
If you ever wondered what contributing to Firefox feels like but you never had the time to read and follow through our instructions to setup a build environment or wanted to avoid screwing around with your precious system then this might be for you.
This article will guide you through a small list of steps that in the end will leave you with a virtual machine ready to modify and build your own development version of Firefox.
I hope this will be valuable to novice programmers that do not have a full C++ development environment at hand as well as to the more experienced folks with little time and lots of curiosity.
Install VirtualBox
Note: The Open Virtualization Format (OVF) is supported by other Virtualization Environments such as VMWare, etc. You can use those if already installed instead of VirtualBox.
Go to the VirtualBox Downloads page and download the latest version available for your operating system. Should you already have VirtualBox installed then please ensure you are running the latest version by checking for updates before continuing.
Download the Firefox Build Environment
Now is the time to download the virtual machine containing our development environment ready to modify and build Firefox. You can get it here:
http://vmimages.mozilla.net/ovf/FirefoxBuildEnv.ova
(SHA-256 = <Please see MDN page linked at the top.>)
Downloading ~2.8 GB might take a while if you are on a slow connection, sorry.
Set up the virtual machine
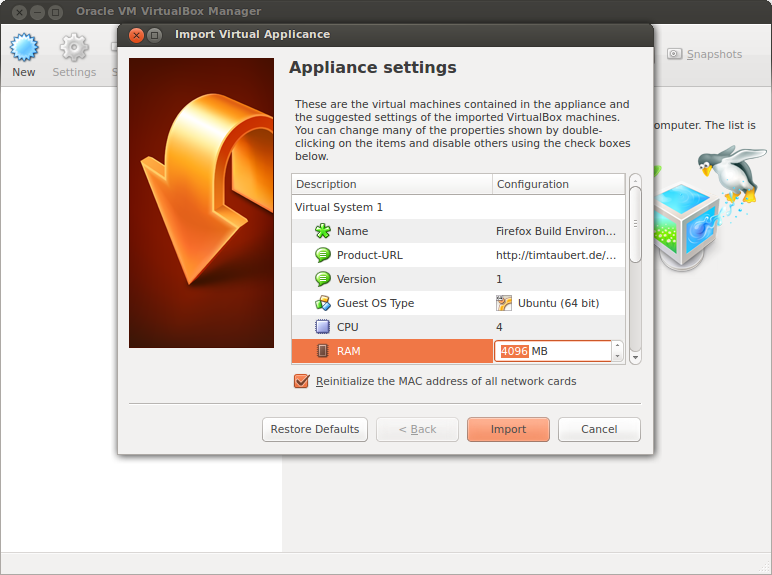
Once the image has been downloaded you can double-click the .ova file and import the new virtual machine into VirtualBox. Please give it at least 2048MB of RAM (4096MB if you can) and the same number of processors that your host machine has available. Building Firefox takes up a lot of resources and you want it to build as fast as possible.
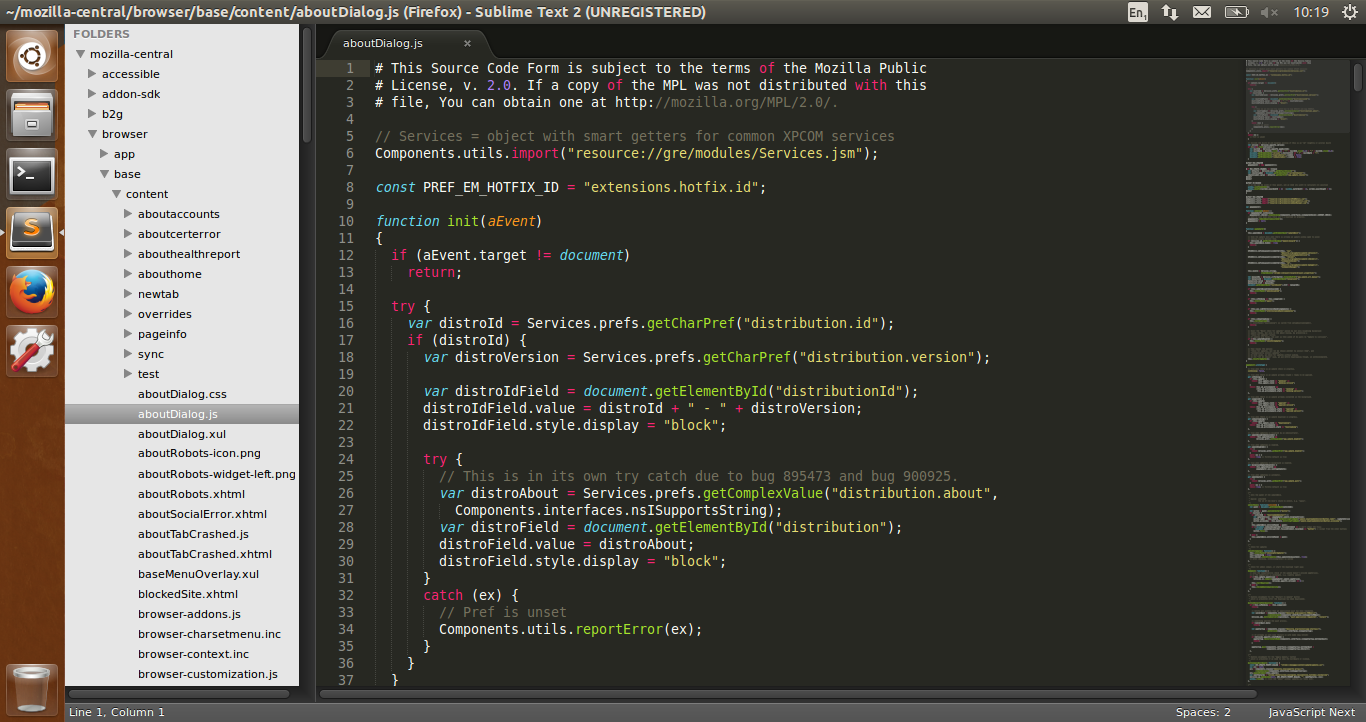
Now that your virtual machine is ready, boot it and wait for the Ubuntu desktop to be shown. A terminal will pop up automatically and do some last steps before we can get started. After a successful installation Sublime 2 should start automatically.
Note: Should you ever need root credentials, use “firefox-dev” as the password. If you want to change your Language and Keyboard settings then follow the instructions on How to change the UI Language in Ubuntu.
Build Firefox
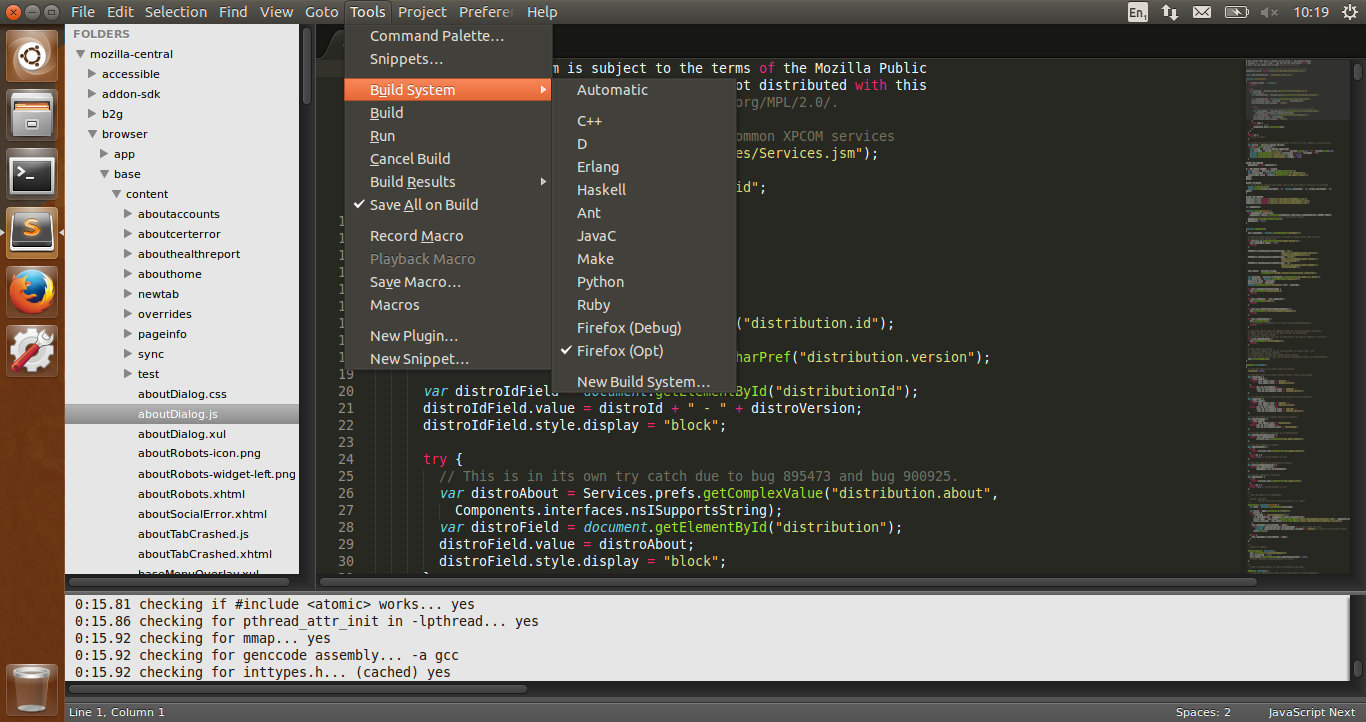
Click Tools > Build to start the process. This might take a long time
depending on the features of your host machine, please be patient. You can
watch the build progress in the text editor’s console at the bottom. Once the
build has finished you can use Tools > Run to start your custom Firefox
build and check that everything works as expected.
Note: if you want to switch from an optimized to a debug build then choose
Tools > Build System > Firefox (Debug)and hitTools > Buildagain to start a debug build.
Now what?
You successfully built Firefox for the first time and wonder what’s next? How about picking a small bug for a start, contribute code and get your changes shipped to half a billion people? If that sounds compelling then take a look at Bugs Ahoy! and find something to work on that sounds interesting to you.
If you are interested in digging deeper into the build system or the version control system, or want to know more about how to create your first patch and post it to our bug tracker then take a look at our Code Firefox Lessons.
I would love to hear your feedback about the Firefox Build Environment! Please tell me what can be improved and what you would like to see in the next version. Do not hesitate to drop me a mail should you have a more detailed opinion.


